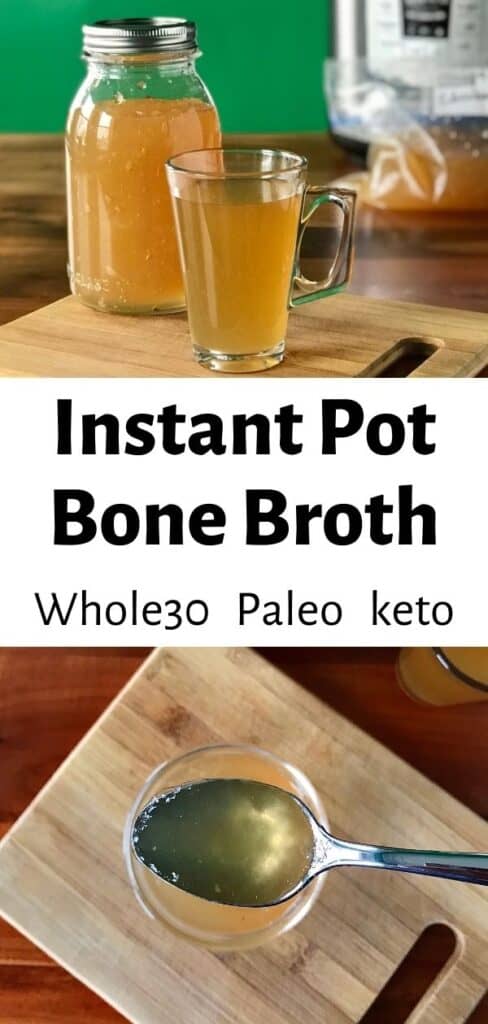
Instant Pot Bone Broth is the fastest way to make a big batch of delicious, nourishing bone broth.
And it’s still full of all the nutritious collagen, minerals, vitamins and more that makes bone broth so good for you.
Plus I’ll show you to make sure it gels, a sign it’s full of the collagen so often lacking in our diets otherwise.
And it just happens to naturally be Paleo, Whole30, keto and gluten-free!

(As an Amazon Associate, I earn from qualifying purchases. Some of the links on this page may be affiliate links. If you purchase a product through an affiliate link, I’ll automatically receive a small commission at no additional cost to you.)
What is bone broth?
Bone broth refers to cooking animals bones such as beef, chicken or turkey with vegetables for a long time to create a flavorful, nourishing liquid.
It’s great for soups, stews or even to drink on its own.
Broth vs. stock
“Stock” usually refers to a liquid made with bones and vegetables whereas “broth” refers to liquid made with meat and vegetables.
But now the terms are used interchangeably which is confusing.
The name “bone broth” has caught on in the past ten years or so, adding to the confusion as it’s broth made with bones which is…stock.
Which bones are best for bone broth?
Ideally you want to use bones that have a lot of cartilage on them, as that’s what will add the collagen to the broth.
So bones with joints (legs, wings, backs, etc.) are great, as are parts like chicken feet and oxtail. Using a whole chicken carcass (broken down if necessary to fit the pot) is a great way to get as many of the different parts as possible.
And if the bones still have some of the meat, skin and/or exposed bone marrow, that’s great too! All of these contribute more nutrients, minerals and collagen.
All that collagen is what helps the broth “gel,” setting into a jiggly solid like Jell-O.
But even if your broth doesn’t gel, that’s okay! It’ll still taste good and be good for you.
The benefits of collagen
Why all this talk of collagen? What’s so great about it?
This article does a great job of listing the benefits, including improving gut, joint and skin health, plus cognition and sleep quality.
And it’s important to get collagen through food as it’s considered a “conditionally essential” amino acid.
What does that mean?
A “non-essential” amino acid is one our body produces on its own, so we don’t need to get it from external sources like food.
An “essential” amino acid is one our body does not produce so we can only get it from external sources like food.
Collagen is kind of funny because it’s actually both. Our bodies produce some collagen but not enough for our daily needs, so therefore we still need to get at least some of it from food.
What you need to make Instant Pot Bone Broth
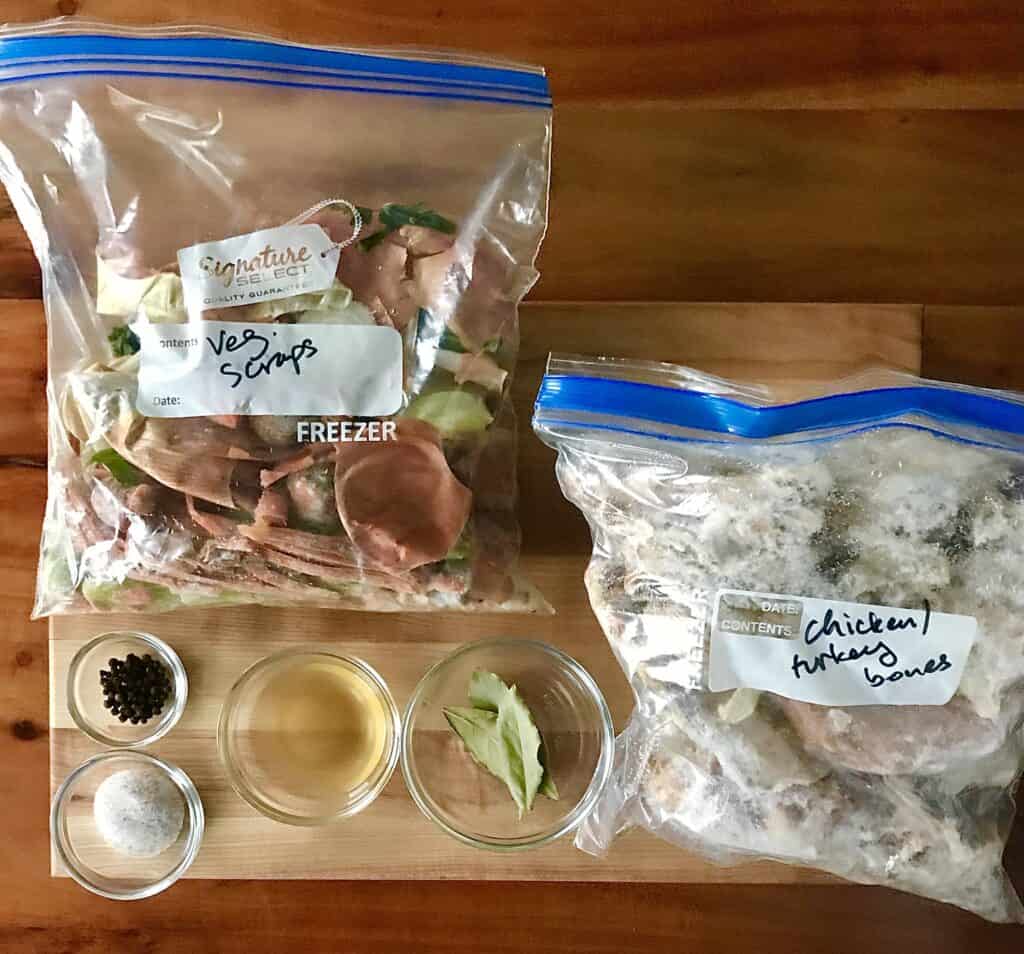
Ingredients:
- bones – I keep a gallon-sized freezer bag in my freezer. Whenever I finish a whole chicken or its parts, I throw the bones into the bag. Once that bag is completely full, I know I’m ready to make broth. Sometimes I won’t fill the bag completely full and will supplement the amount with chicken feet or beef bones purchased from my local farmer. A good butcher can also provide these.
- If using bones from deep fried or breaded chicken, make sure to peel off all fried or breaded bits first.
- vegetable scraps – I also keep a gallon-sized freezer bag in my freezer for veggie scraps. As I cook my meals, if I have any leftover bits, peels, skins, roots, etc., I throw them into the bag. I especially like to add scraps of onion, scallions, shallots, celery, carrots and parsley stems. Once this bag is half full, I know it’s ready for the broth. If I try to use a whole bag’s worth, there won’t be enough room in the Instant Pot for the bones and the veggies.
- salt – I use fine sea salt, but kosher salt is also okay.
- peppercorns – I use whole peppercorns.
- garlic – I’ll cut an enter head of garlic in half cross-wise, straight through all the cloves, and add both halves. If I don’t have a whole head, I’ll cut in half any cloves I do have laying around, peels and all.
- bay leaves – I like to add 3 dried bay leaves to round out the flavor of the broth.
- apple cider vinegar – This is a bit controversial. Apple cider vinegar was believed to help extract the minerals out of the bones. Apparently you would actually need to add so much vinegar for this to be true that the broth would be inedible. But I’ve found that when I’ve left it out the broth tastes kind of flat. This makes sense, as apple cider vinegar is an acid and acid helps bright up the flavor of foods, so I continue to use it in my broth for the flavor.
Do you need all of the above?
No. I’ve made broth that is just bones, salt and apple cider vinegar and it’s perfectly good. But I add all of the above if I have everything as it makes the most rounded, balanced, flavorful stock that can be used in many different kinds of recipes.
Other ideas to add to bone broth:
- ginger – Don’t even bother peeling. Just slice a 2-3″ piece of fresh ginger.
- turmeric – Same as with fresh ginger above.
- star anise – This adds a licorice-like flavor that’s great if you want to use your broth for pho or Chinese soups.
- different color peppercorns – green are more herbal, white have a sharper heat
- other herbs – You can add a handful of cilantro or sprigs of thyme.
Equipment:
- an Instant Pot or other electric pressure cooker – I use the basic 6-quart model.
- measuring spoons – These are my favorite because they fit into spice jars.
- cheesecloth – for filtering the broth after it has cooked
- a colander – This one recommended by America’s Test Kitchen is also my favorite.
- a large mixing bowl
- any kind of plastic bag for discarding the bones (make sure it doesn’t have any holes so no liquid leaks through)
- a large refrigerator-safe container for chilling the broth
- containers for storing the broth after it has chilled – I freeze my broth in 4-cup portions in labeled gallon-sized freezer bags. Once there’s less than 4 cups left, I either freeze it in a smaller amount or keep it in the fridge for cooking and drinking. You can also store your broth in quart-sized mason jars but be careful: liquid expands when it freezes. If you fill the jars completely full, they’ll crack in the freezer. Leave at least 2 inches of room at the top of the jar. (I left room at the top of a mason jar and it still cracked, so now I just stick to freezer bags.)
How to make Instant Pot Bone Broth
Normally bone broth can take anywhere from 24-36 hours on the stove. And let’s be honest – it does not smell very good as it’s cooking.
So I love that I can make it in my Instant Pot in less than 2 hours!
All I do is this (might seem like a long list but all the steps are quick and easy):
- I add all the bones, veggie scraps and any additional ingredients (see above) to the IP insert. Because I add my bones straight from the freezer, they might not fit perfectly and may stick up past the top of the insert. As long as you can still get the lid on, it’s perfectly okay. As the bones warm up, they’ll settle into the water. (If you can’t get the lid on, you’ll have to break apart some of the bones so they settle into the insert.)
- Then I add filtered water. If the bones stick up past the top of the insert, I won’t fill the water to the maximum capacity line on the inside of the insert so as to leave room for the bones to settle down into the water. If the bones don’t stick up that far, then I add water until it reaches the maximum capacity line.
- Lock on the lid and make sure the release button is in the seal position.
- Then hit the Manual button and press the + button until the screen reads 90 minutes. (Note: different electric pressure cooker models might have different buttons – follow the instructions for your specific model to cook the broth for 90 minutes.)
- Once the 90 minutes are done, press the Keep Warm/Cancel button to turn the IP off.
- I like to let the IP sit for at least 20 minutes before I release the pressure.
- Line a colander with cheesecloth and set it over a large mixing bowl.
- Keep a plastic bag nearby for the discarded bones (make sure the bag doesn’t have any holes).
- Carefully pour the hot broth into the lined colander. Then lift the colander up to drain completely into the bowl.
- Add the bones, veggies and cheesecloth from the colander to your plastic bag, seal/tie it up and discard.
- Pour the broth into a refrigerator-safe container and chill for 24-48 hours. The longer you chill it, the more the fat that rises to the top will solidify and be easier to remove.
- After 24-48 hours, remove the fat that’s solidified at the top of the broth and portion out your broth into your preferred container (see above). You can then save the fat to use later, if you wish.
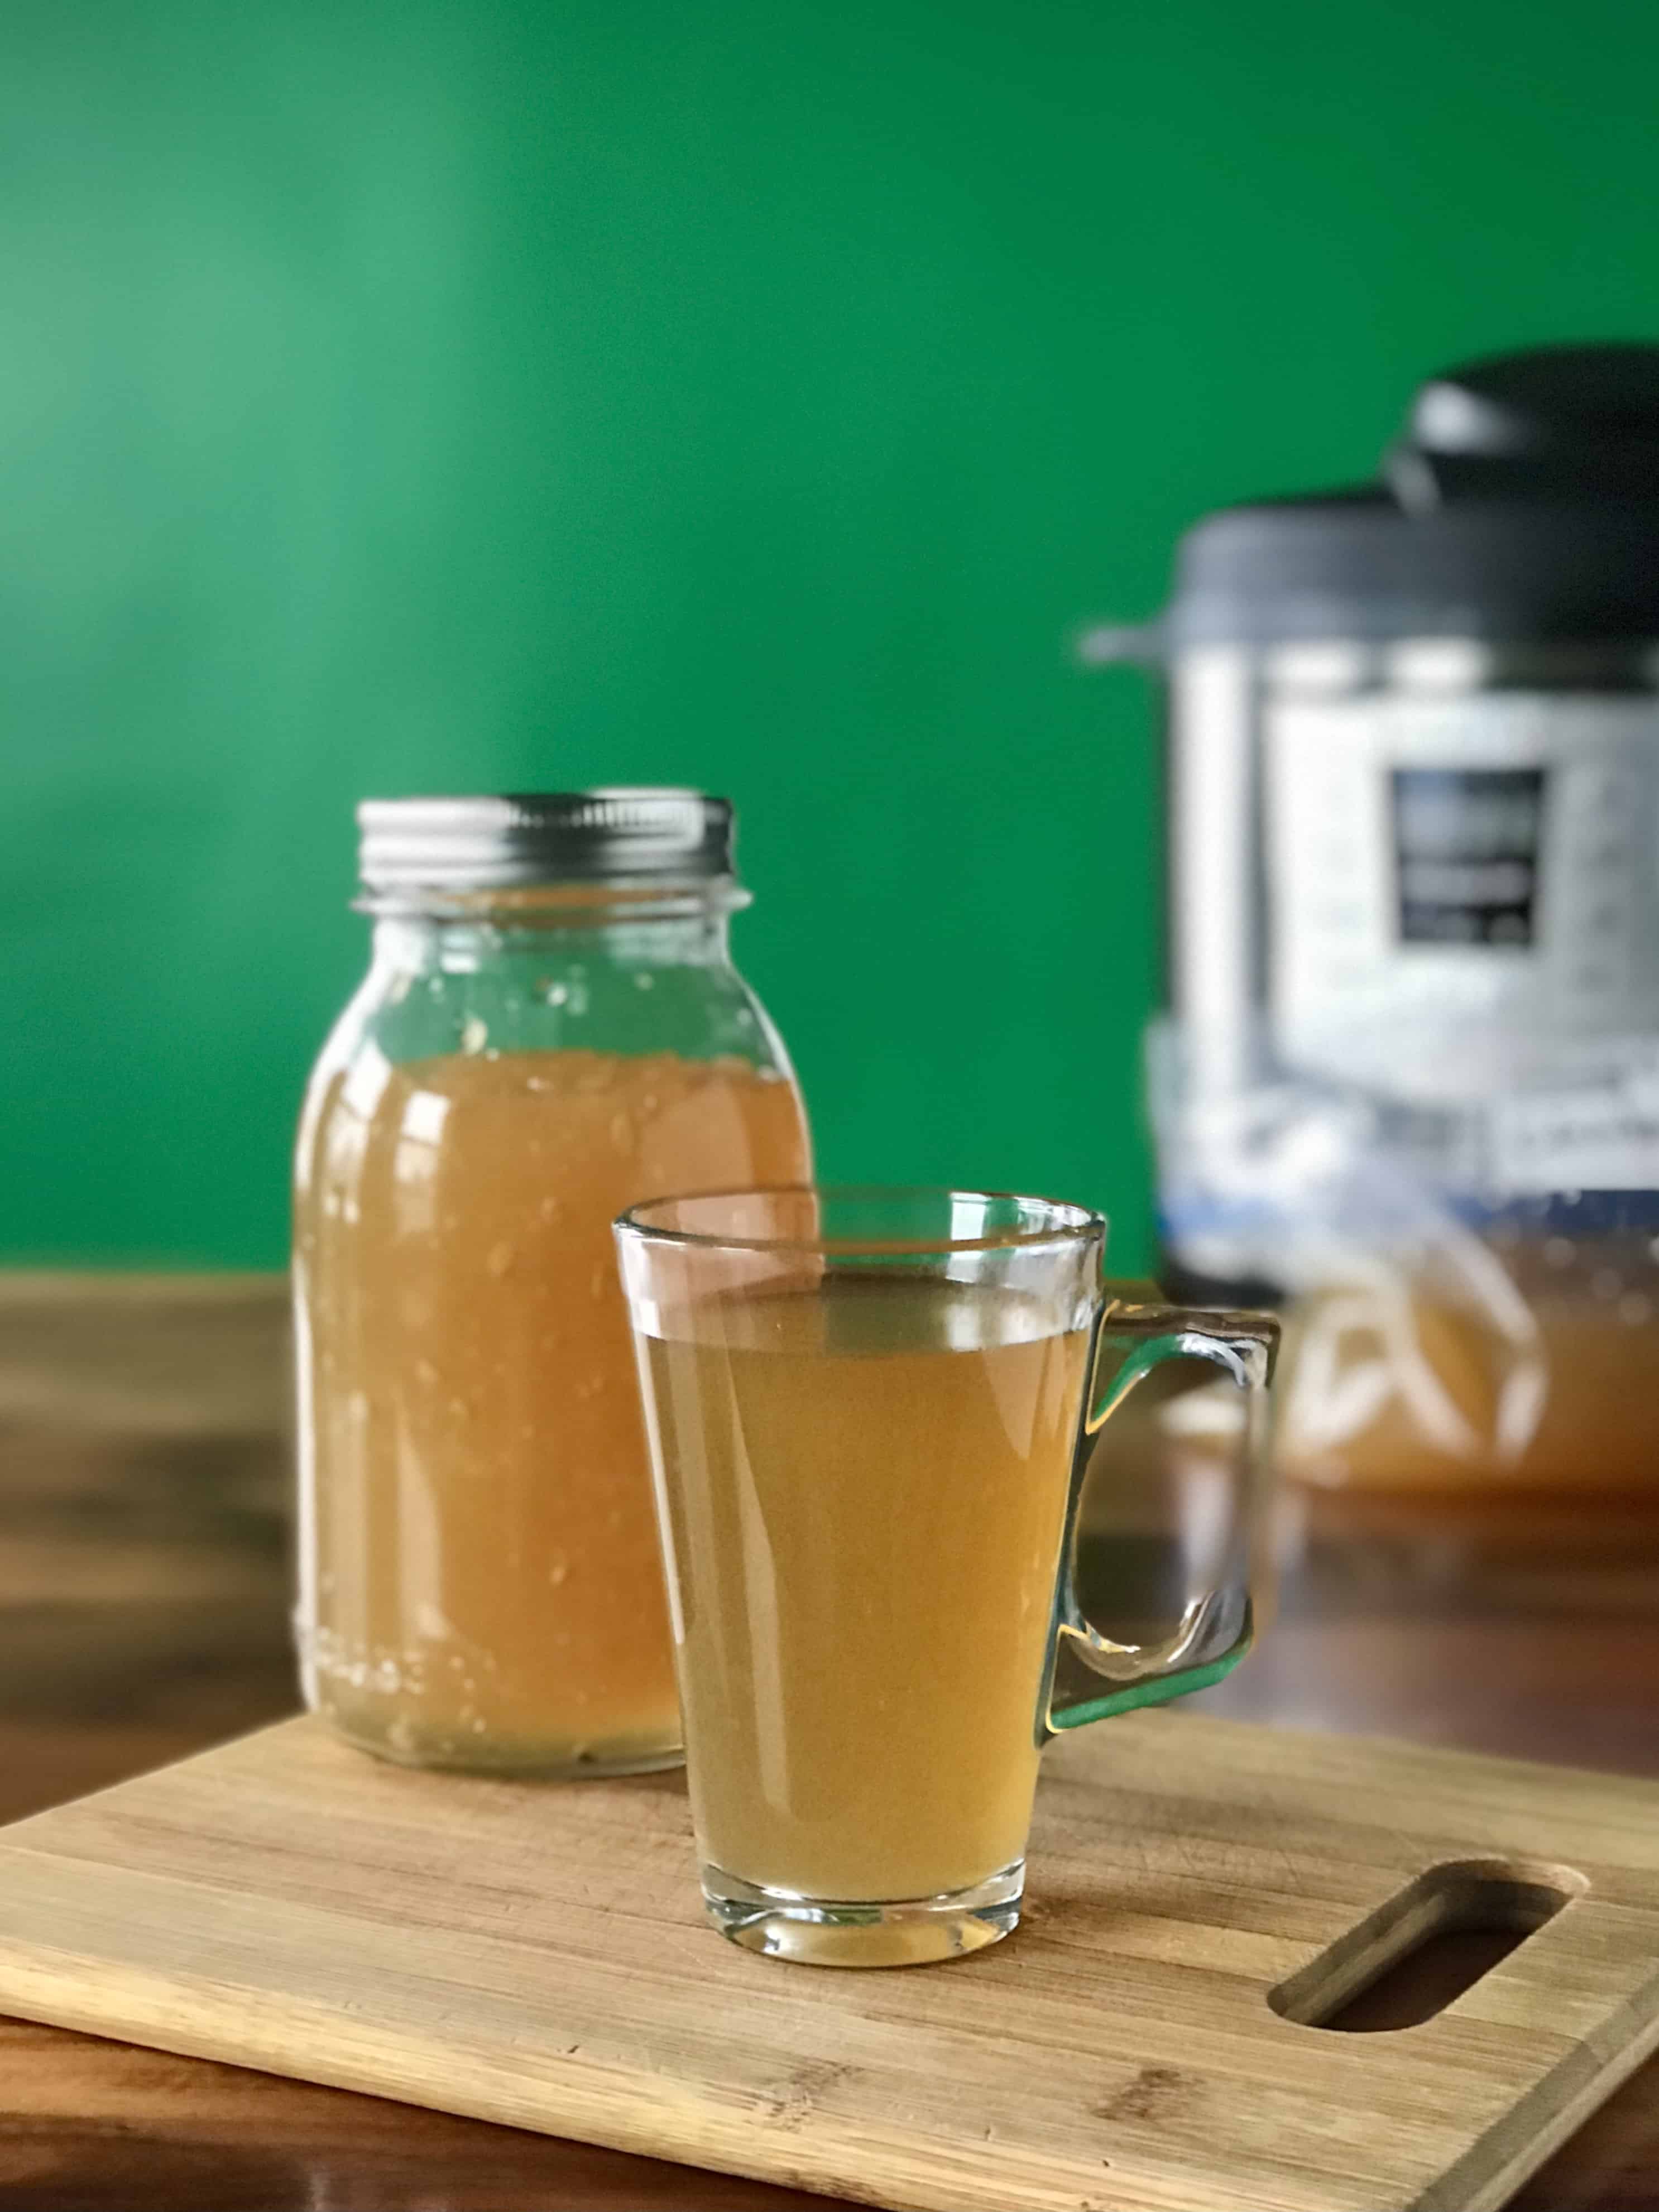
For me, this usually makes approx. 10-14 cups of broth.
You did it! You made Instant Pot bone broth! Congrats, you rock star!
Frequently Asked Questions (FAQ)
The broth can be chilled for up to a week in the fridge.
The broth can be frozen for up to a year. Thaw overnight in the fridge.
You can reuse bones if they look like they still have a lot of cartilage, skin, etc. on them after making broth with them.
I mostly don’t bother reusing bones, though. I don’t think it’s worth the time and effort.
Some people roast the bones before making the broth to bring out a deeper flavor. You can do this by roasting bones (make sure they’re at room temperature) in a 425° oven for 45-60 minutes on a foil-lined baking sheet. Then proceed with the recipe as written.
If you’re new to the world of bone broth, drinking it straight up might sound weird. But once you get used to it, if your broth tastes good, it actually makes for a really warm, cozy, flavorful drink. But you can also use it as the base in all your favorite soups, stews, chowders, bisques, chilis and more.
Recipes using bone broth:
- Leftover Chicken or Turkey Soup
- Slow-Cooker Italian Chicken Stew
- Instant Pot Creamy White Chicken Chili
- 3-Ingredient Curried Sweet Potato Soup
- Parsnip Pear Soup
- Purple Soup
Instant Pot Bone Broth (Paleo, Whole30, keto)
Ingredients
- 3-4 lbs. bones (whole chicken carcasses, thighs, backs, wings, feet, beef knuckles, etc.), unthawed if frozen
- 2 tablespoons apple cider vinegar
- 1 tablespoon fine sea salt or 2 tablespoons kosher salt
Optional but recommended:
- 1 lb. veggie scraps, like from onions, scallions, shallots, carrots and celery
- 1 head garlic, halved crosswise
- 1 teaspoon whole peppercorns
- 3 dried bay leaves
Instructions
- Add the bones, salt, vinegar and any additional ingredients to the insert of your Instant Pot. It's okay if the bones stick up past the top of the insert as long as you can get the lid on. If you can't get the lid on, break the bones so they settle lower into the insert.
- Add filtered water. If the bones stick up past the top of the insert, don't fill the water to the maximum capacity line on the inside of the insert so as to leave room for the bones to settle down into the water. If the bones don't stick up that far, then add water until it reaches the maximum capacity line. You'll need about 8-10 cups of water total.
- Lock on the lid and make sure the release button is in the seal position.
- Press the Manual button and press the + button until the screen reads 90 minutes if the bones are frozen, 60 if they're room temperature. (Note: different electric pressure cooker models might have different buttons – follow the instructions for your specific model to cook the broth for 60 or 90 minutes.)
- Once the 60 or 90 minutes are done, press the Keep Warm/Cancel button to turn the IP off. Let the broth rest for at least 20 minutes.
- Line a colander with cheesecloth and set it over a large mixing bowl. Keep a plastic bag nearby for the discarded bones (make sure the bag doesn't have any holes).
- Add the bones, veggies and cheesecloth from the colander to your plastic bag, seal/tie it up and discard.
- Pour the broth into a refrigerator-safe container and chill for 24-48 hours. The longer you chill it, the more the fat that rises to the top will solidify and be easier to remove.
- After 24-48 hours, remove the fat that's solidified at the top of the broth and portion out your broth into your preferred container for freezing or chilling.
Notes
- ginger – Don’t even bother peeling. Just slice a 2-3″ piece of fresh ginger.
- turmeric – Same as with fresh ginger above.
- star anise – This adds a licorice-like flavor that’s great if you want to use your broth for pho or Chinese soups.
- different color peppercorns – green are more herbal, white have a sharper heat
- other herbs – You can add a handful of cilantro or sprigs of thyme.


Elisha says
Hello, It’s my first time attempting bone broth and I came across your recipe. I have a question from the ingredients list though. Do you mean to thaw the bones, if frozen, or keep them unthawed, which means to keep frozen? Just wondering if it’s recommended to thaw them first or if it’s fine to put them in the IP still frozen. Thanks, I’m looking forward to trying this soon!
Paleo Gluten Free Guy says
If they’re frozen, no need to thaw them. Good luck!
Elisha says
Thank you so much for the reply! I’ll be making this tomorrow!
Jennifer Fisher says
so good and good for you . . . plus I always feel good about saving and using my scraps!
Paleo Gluten Free Guy says
Yes! Reducing food waste is one of the best parts about making your own broth.
ChihYu says
Is there nothing that the Instant Pot can’t do? This bone broth is so delicious – deep, rich flavor and quick to make!
Paleo Gluten Free Guy says
Thank you! Yep, the IP is pretty great.
Kelly says
So easy and so delicious! Much better than store bought!
Paleo Gluten Free Guy says
Thanks!
Megan Stevens says
What a fun idea to add star anise to bone broth + the ginger; this makes it so yummy for drinking by the mug!
Paleo Gluten Free Guy says
Thanks! I agree. Who knew we’d be adults liking to drink broth out of a mug? 😉
Yang says
I also use Instant Pot to make bone broth. It’s so much easier when you can just walk away with the programmable functions!!
Paleo Gluten Free Guy says
Agreed! Such a game-changer.
Jean Choi says
I make mine similarly and it always comes out perfect! I love the idea of adding ginger! Gotta try that.
Paleo Gluten Free Guy says
It’s such a great method! Glad to meet another fan.
tina says
I love homemade bone broth – so nutritious and tasty. This instant pot version is so good and easy!
Paleo Gluten Free Guy says
Thanks!