These easy Banana Popsicles are sweet, creamy and only need 1 ingredient: bananas!
Because bananas are naturally sweet, you really don’t need to add any sugar or sweetener of any kind.
So these homemade banana pops are sugar free and, dare I say it, kinda healthy. (Okay, there, I said it.)
Includes lots of fun variations, too!
(As an Amazon Associate, I earn from qualifying purchases. Some of the links on this page may be affiliate links. If you purchase a product through an affiliate link, I’ll automatically receive a small commission at no additional cost to you.)
Why this recipe works
Popsicles are always a fun treat for kids and adults alike.
And banana pops are one of the most popular flavors.
But a lot of banana popsicles – whether recipes or store-bought – have a lot of added sugar, milk, yogurt or other ingredients that don’t work if you’re dairy-free, vegan or Paleo.
And if you’re trying to watch your sugar intake or are dairy-free, those versions are not an option for you.
Plus, bananas are sweet so you really don’t need to add sugar anyway!
Although normally when you use bananas in desserts, you want them covered in black spots because that means they’re very ripe and sweet.
Unfortunately, if you use those in this recipe, the pops have an unattractive dark, spotty appearance. So we’ll use yellow bananas (a few black spots are fine) – they’ll still be sweet and they’ll look nice.
And when you blend bananas up in a food processor or even with just a fork, they get smooth and creamy, so there’s no need for milk or yogurt either.
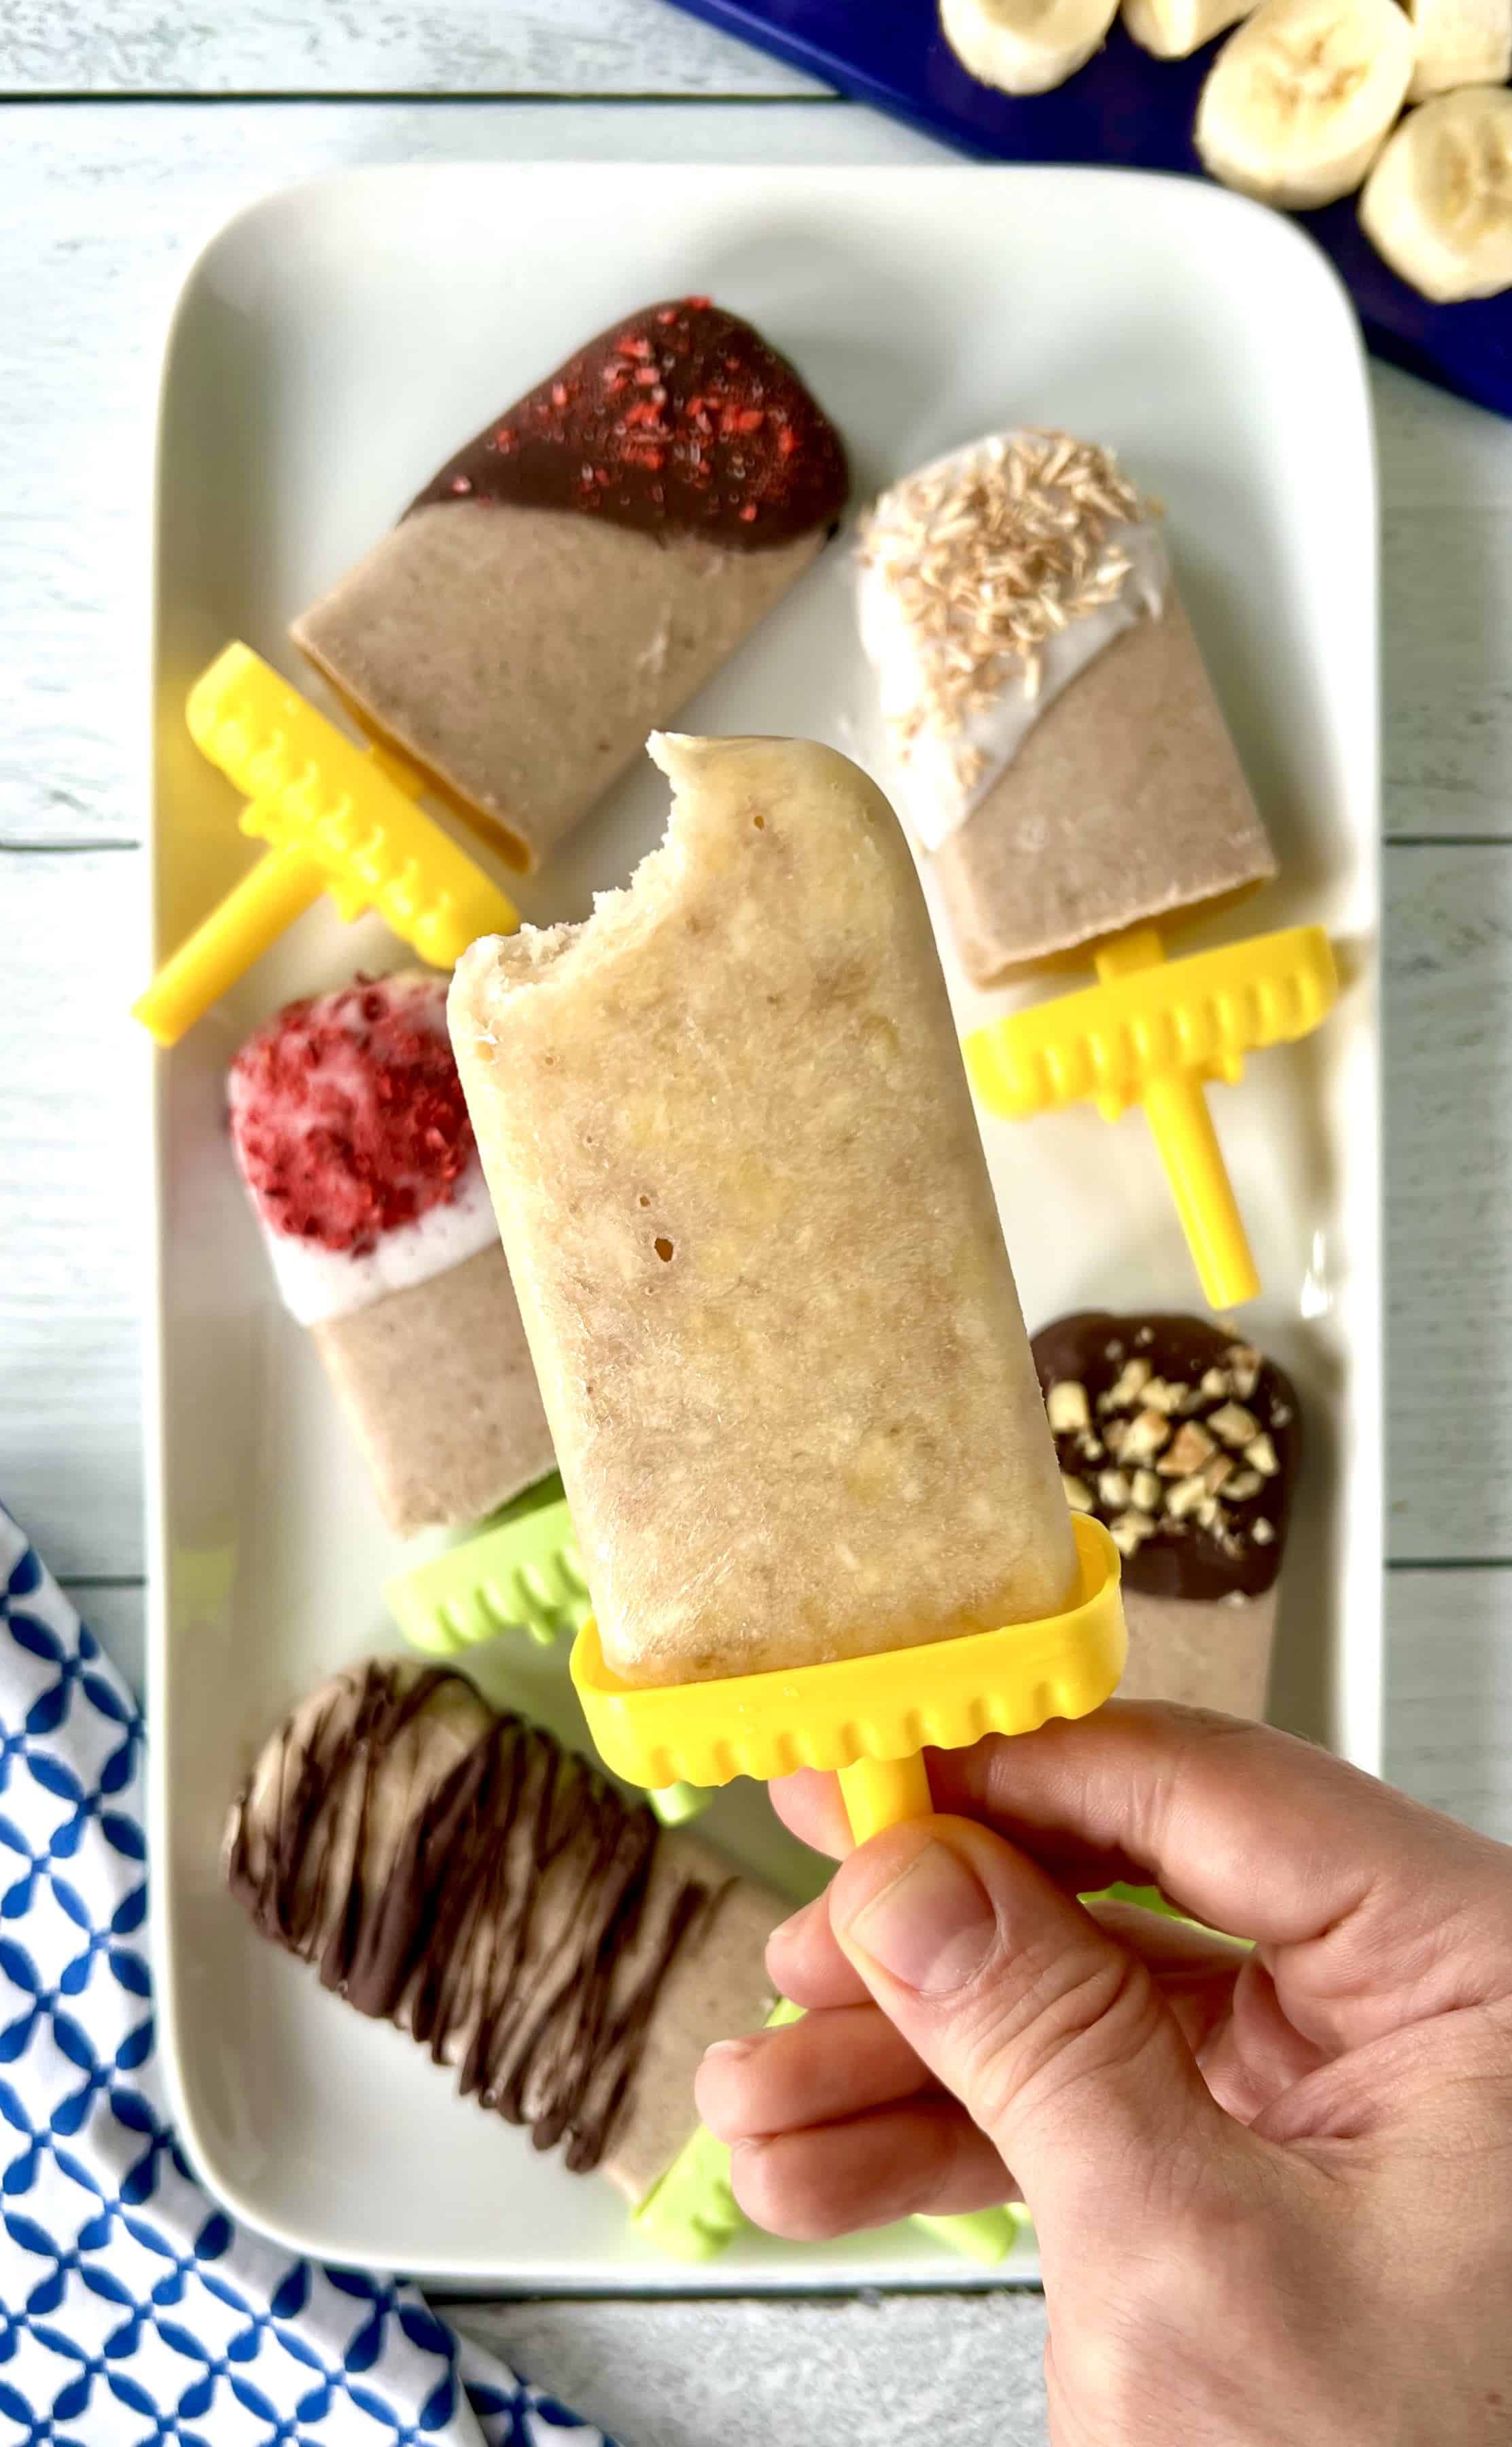
When you freeze blended bananas, it’s almost like eating regular banana ice cream!
That’s why this recipe requires just one ingredient, which also means they’re dairy-free, vegan and Paleo friendly.
They’re cool, creamy and refreshing – perfect for warm weather parties or even just as a snack.
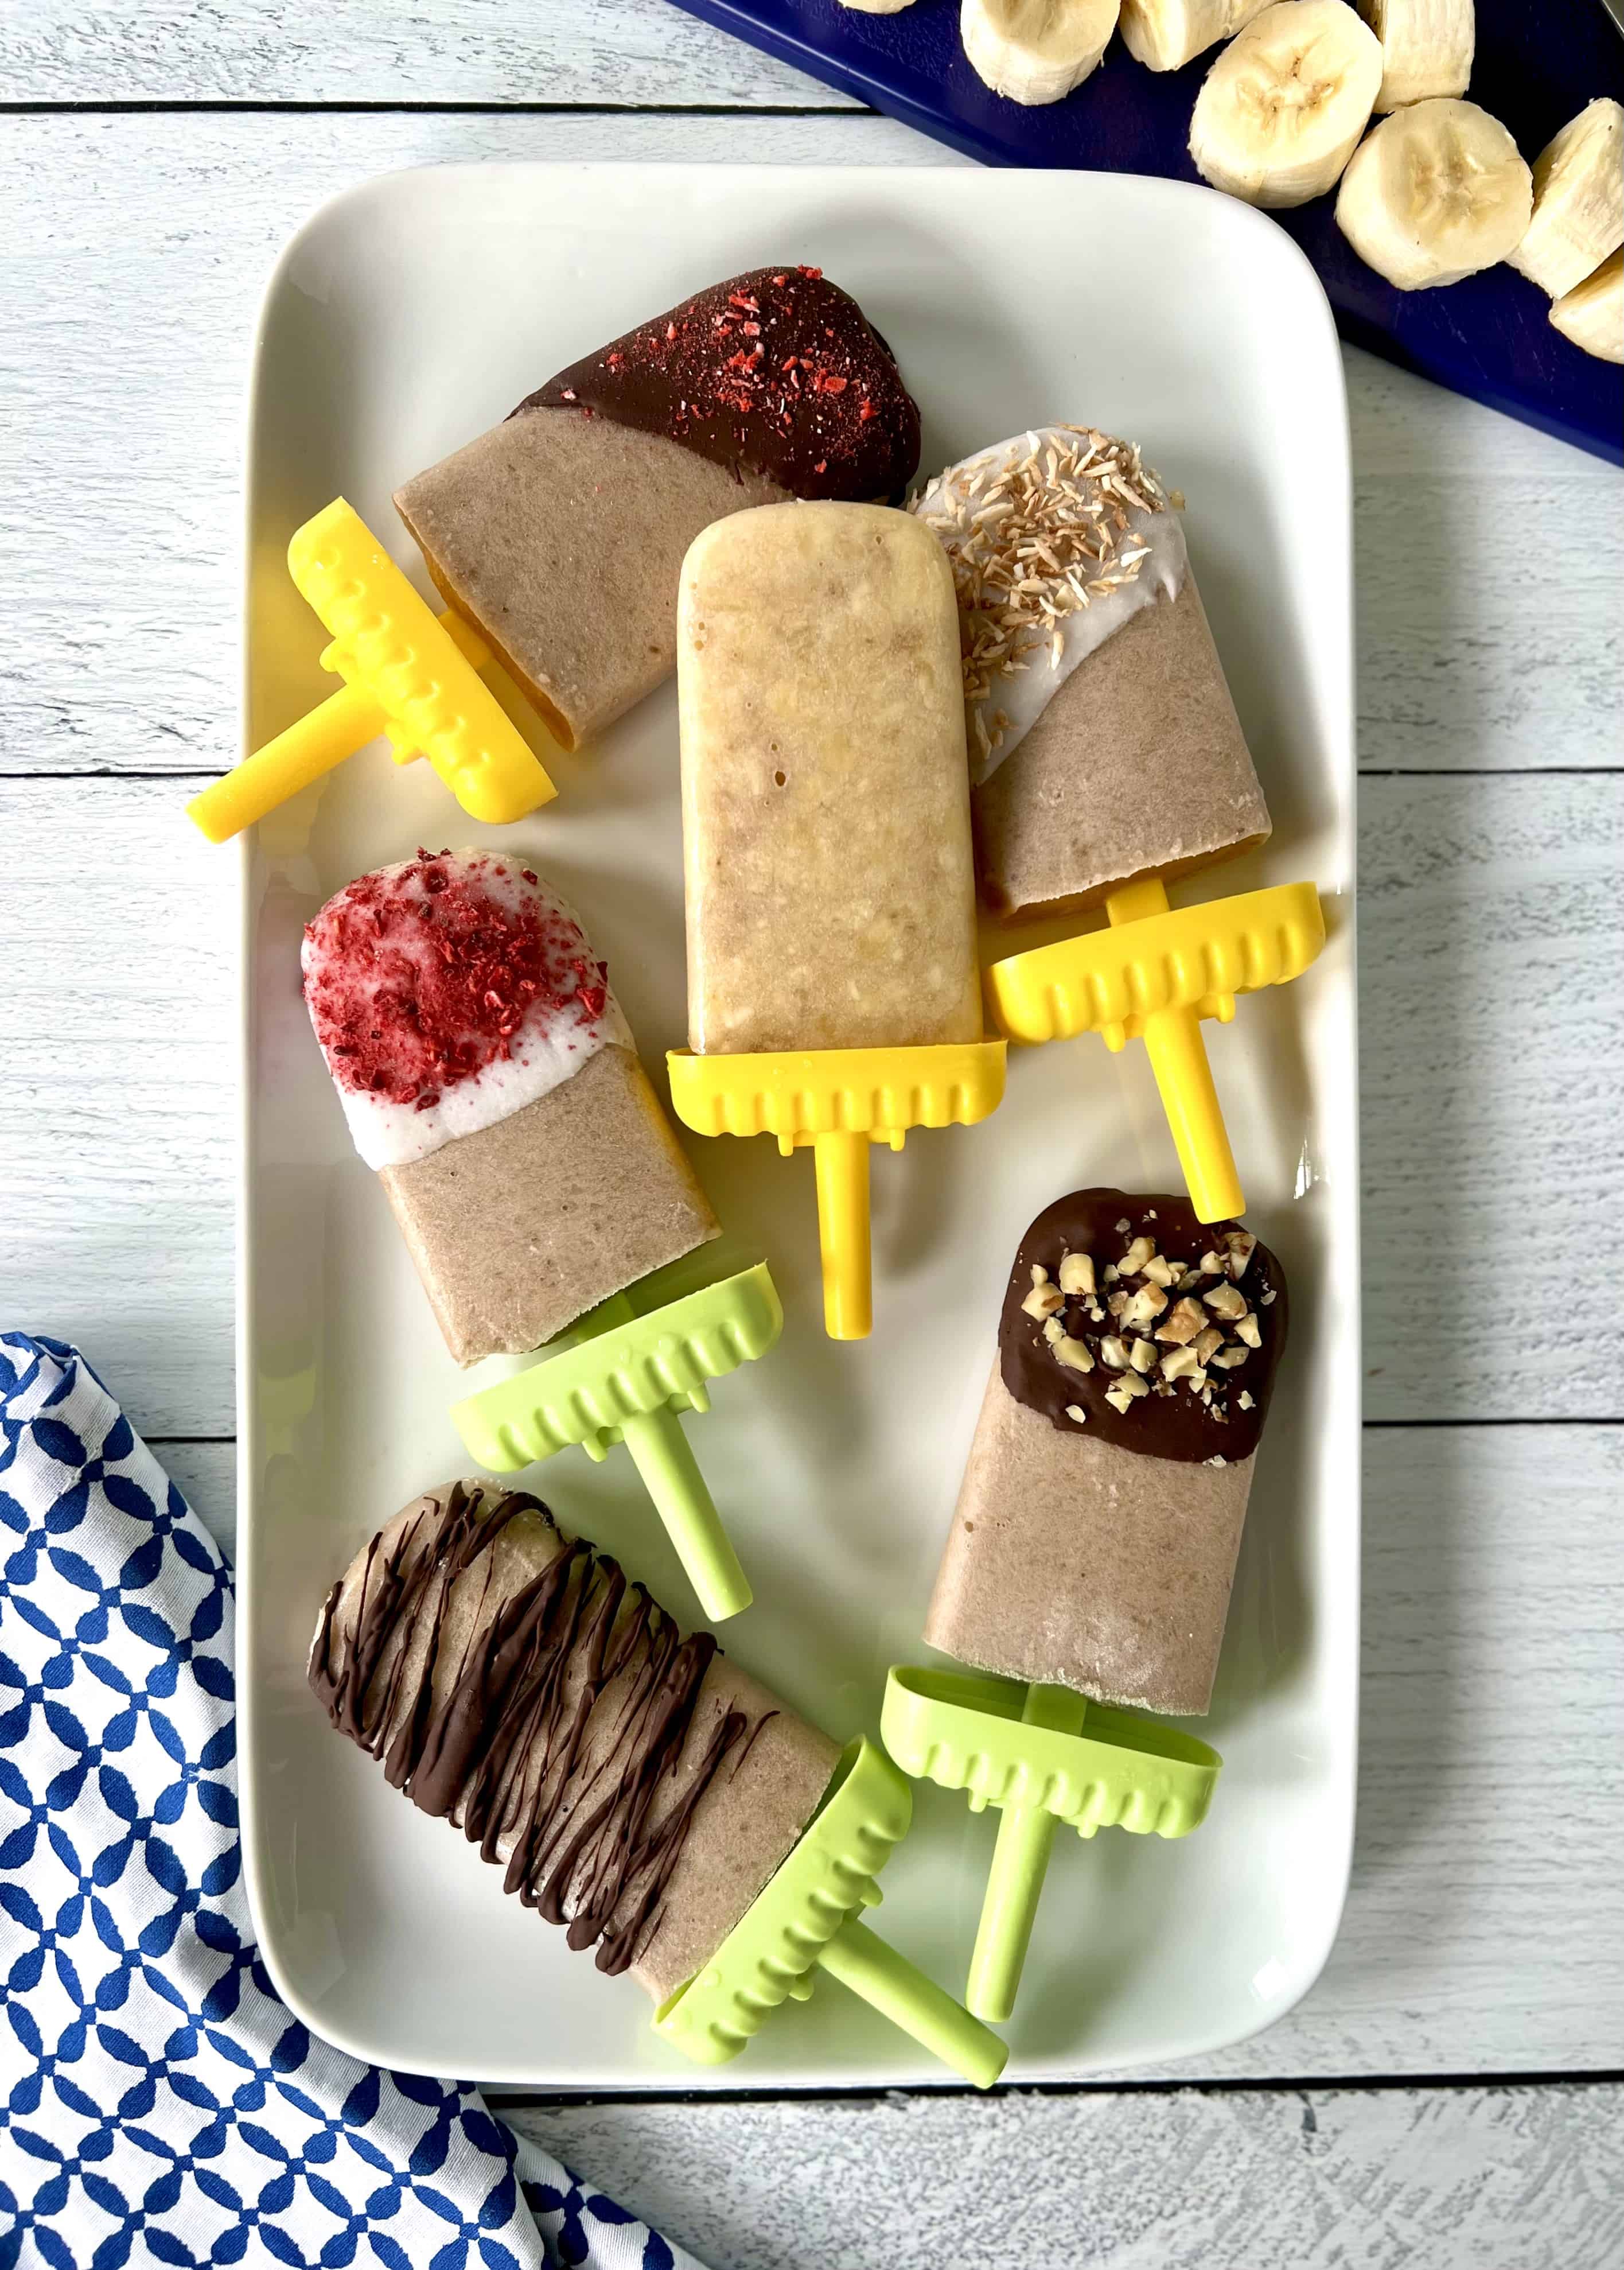
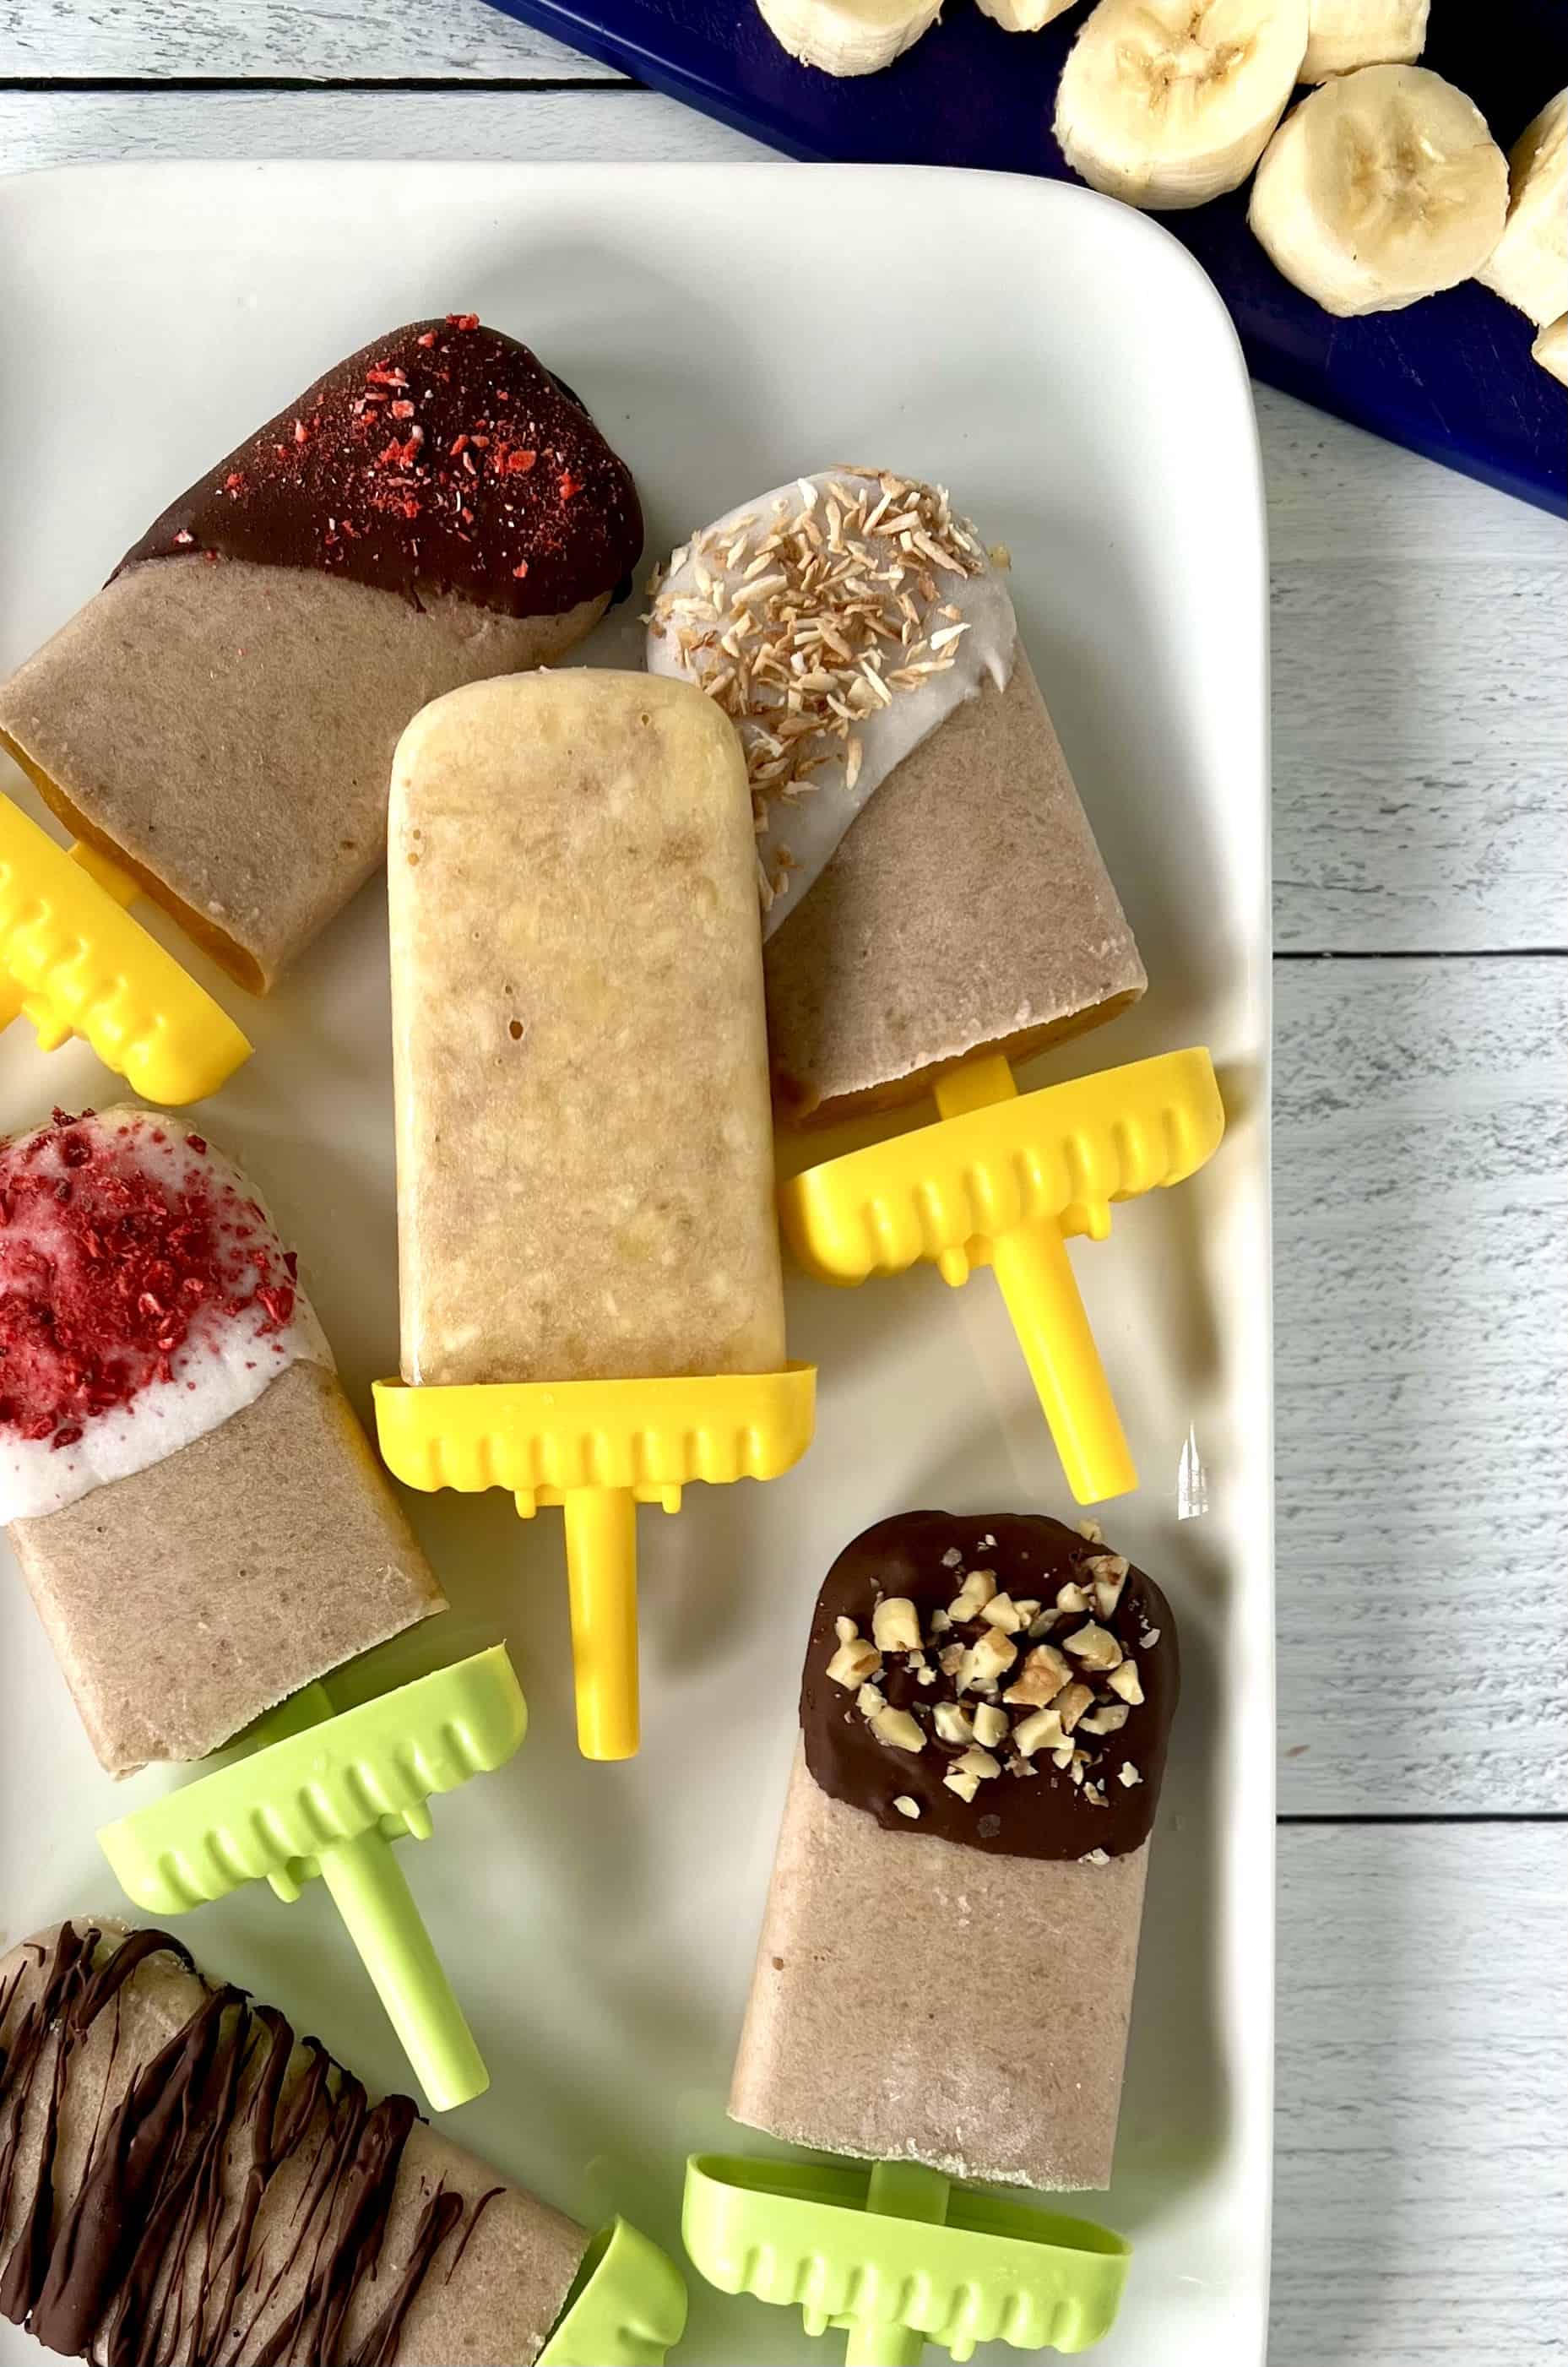
And if you’re feeling fancy, I show you how to make them a bit decadent by dipping them in chocolate or yogurt and adding fun toppings.
What you need
Ingredients:
- 4 large bananas, mostly yellow with very little black spots
- Optional toppings:
- chocolate chips or chopped chocolate (if you’re dairy-free, I like Enjoy Life! or Hu)
- plain yogurt (dairy-free/vegan if necessary)
- finely chopped toasted nuts
- toasted unsweetened shredded coconut
- crushed freeze-dried strawberries or raspberries
Equipment:
- popsicle molds
- a large mixing bowl and fork or food processor/blender
- a large measuring glass (optional but helpful)
- a small funnel (optional but helpful; the popsicle mold I link to above comes with its own handy-dandy funnel)
- a baking sheet lined with parchment paper (if adding toppings)
How to make banana popsicles
Peel the bananas and remove any stringy bits. Break them into chunks and add them to a bowl. Use a fork to mash them until they seem to almost liquify (a few small lumps is fine).
If using a processor or blender, blend until smooth and creamy. You might need to stop and scrape down the sides and bottom of the processor bowl (chunks of banana can stick to the blades).
I’ve made them both by mashing with a fork and using a food processor. There wasn’t a huge difference between the final products, but the fork method obviously took more work. Do what’s right for you!
With your popsicle molds ready, pour the banana mixture into a large measuring glass (optional, but makes pouring into the molds easier).
Place a small funnel over the first mold (again, helps with pouring) and pour in the banana mixture until the mold is almost full.
Repeat with the remaining molds.
Freeze for at least 4 hours.
When serving, you might need to run the molds under hot water for 5-10 seconds to loosen them.
If adding toppings:
Have a parchment-lined baking sheet ready and any toppings ready to go, if using.
For the chocolate: In a microwave, melt the chocolate chips or chopped chocolate in a microwave-safe bowl for 60-90 seconds, stirring every 30 seconds.
Pour the chocolate into a bowl or drinking glass (wide enough to fit the pops).
For the yogurt: add yogurt to a bowl or drinking glass (wide enough to fit the pops).
Dip a pop in the melted chocolate or yogurt, place on the parchment-lined baking sheet and immediately sprinkle on the chopped nuts, coconut or freeze-dried fruit. If you wait even a few minutes, the chocolate or yogurt will freeze and harden and the toppings won’t stick.
Repeat with the remaining popsicles.
Once you’ve dipped and topped all the pops, enjoy immediately or place the baking sheet in the freezer to enjoy later.
FAQ
Can I add sweetener?
Sure. If you think the bananas won’t be sweet enough, you can add honey, maple syrup or whatever sweetener you like.
Can I use non-plain yogurt?
Sure! Try vanilla or any flavor you like.
How long can I store banana popsicles?
The banana popsicles should be fine in the freezer for up to 6 months.
For the dipped and topped pops, layer them between parchment paper in a freezer-safe container or baggie.
Can I double the recipe?
Yes! If you have more than one popsicle mold set, go ahead and double the recipe.
Other recipes you might like:
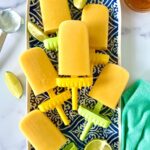
- Mango Popsicles
- Red, White and Blue Popsicles
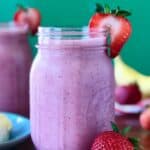
- Strawberry Banana Smoothie
- No-Bake Raspberry Cheesecake Bites
Banana Popsicles - 1 ingredient, sugar free!
Ingredients
- 4 large bananas, mostly yellow with few black spots
- Optional toppings: chocolate chips or chopped chocolate (if you're dairy-free, I like Enjoy Life! or Hu); plain yogurt (dairy-free/vegan if necessary); finely chopped toasted nuts; toasted unsweetened shredded coconut; crushed freeze-dried strawberries or raspberries
Instructions
- Peel the bananas and remove any stringy bits. Break them into chunks.
- Add them to a large bowl. Use a fork to mash them until they seem to almost liquify and just have small lumps.Or add them to a processor or blender and blend until smooth and creamy. You might need to stop and scrape down the sides and bottom of the processor bowl (chunks of banana can stick to the blades).I've made them both by mashing with a fork and using a food processor. There wasn't a huge difference between the final products, but the fork method obviously took more work. Do what's right for you!
- With your popsicle molds ready, pour the banana mixture into a large measuring glass (optional, but makes pouring into the molds easier). Place a small funnel over the first mold (again, helps with pouring) and pour in the banana mixture until the mold is almost full. Repeat with the remaining molds.
- Freeze for at least 4 hours. When serving, you might need to run the molds under hot water for 5-10 seconds to loosen them.
If dipping them and adding toppings
- Have a parchment-lined baking sheet ready and any toppings ready to go, if using.
- For the chocolate: In a microwave, melt the chocolate chips or chopped chocolate in a microwave-safe bowl for 60-90 seconds, stirring every 30 seconds. Pour the chocolate into a bowl or drinking glass (wide enough to fit the pops).
- For the yogurt: add yogurt to a bowl or drinking glass (wide enough to fit the pops).
- Dip a pop in the melted chocolate or yogurt, place on the parchment-lined baking sheet and immediately sprinkle on the chopped nuts, coconut or freeze-dried fruit. If you wait even a few minutes, the chocolate or yogurt will freeze and harden and the toppings won't stick. Repeat with the remaining popsicles.
- Once you've dipped and topped all the pops, enjoy immediately or place the baking sheet in the freezer to enjoy later.
Notes
Nutrition
FOR MORE RECIPES, INSPIRATION AND GENERALLY GOOD STUFF, JOIN ME ON:
Instagram,
Facebook,
TikTok
AND Pinterest!


Leave a Reply